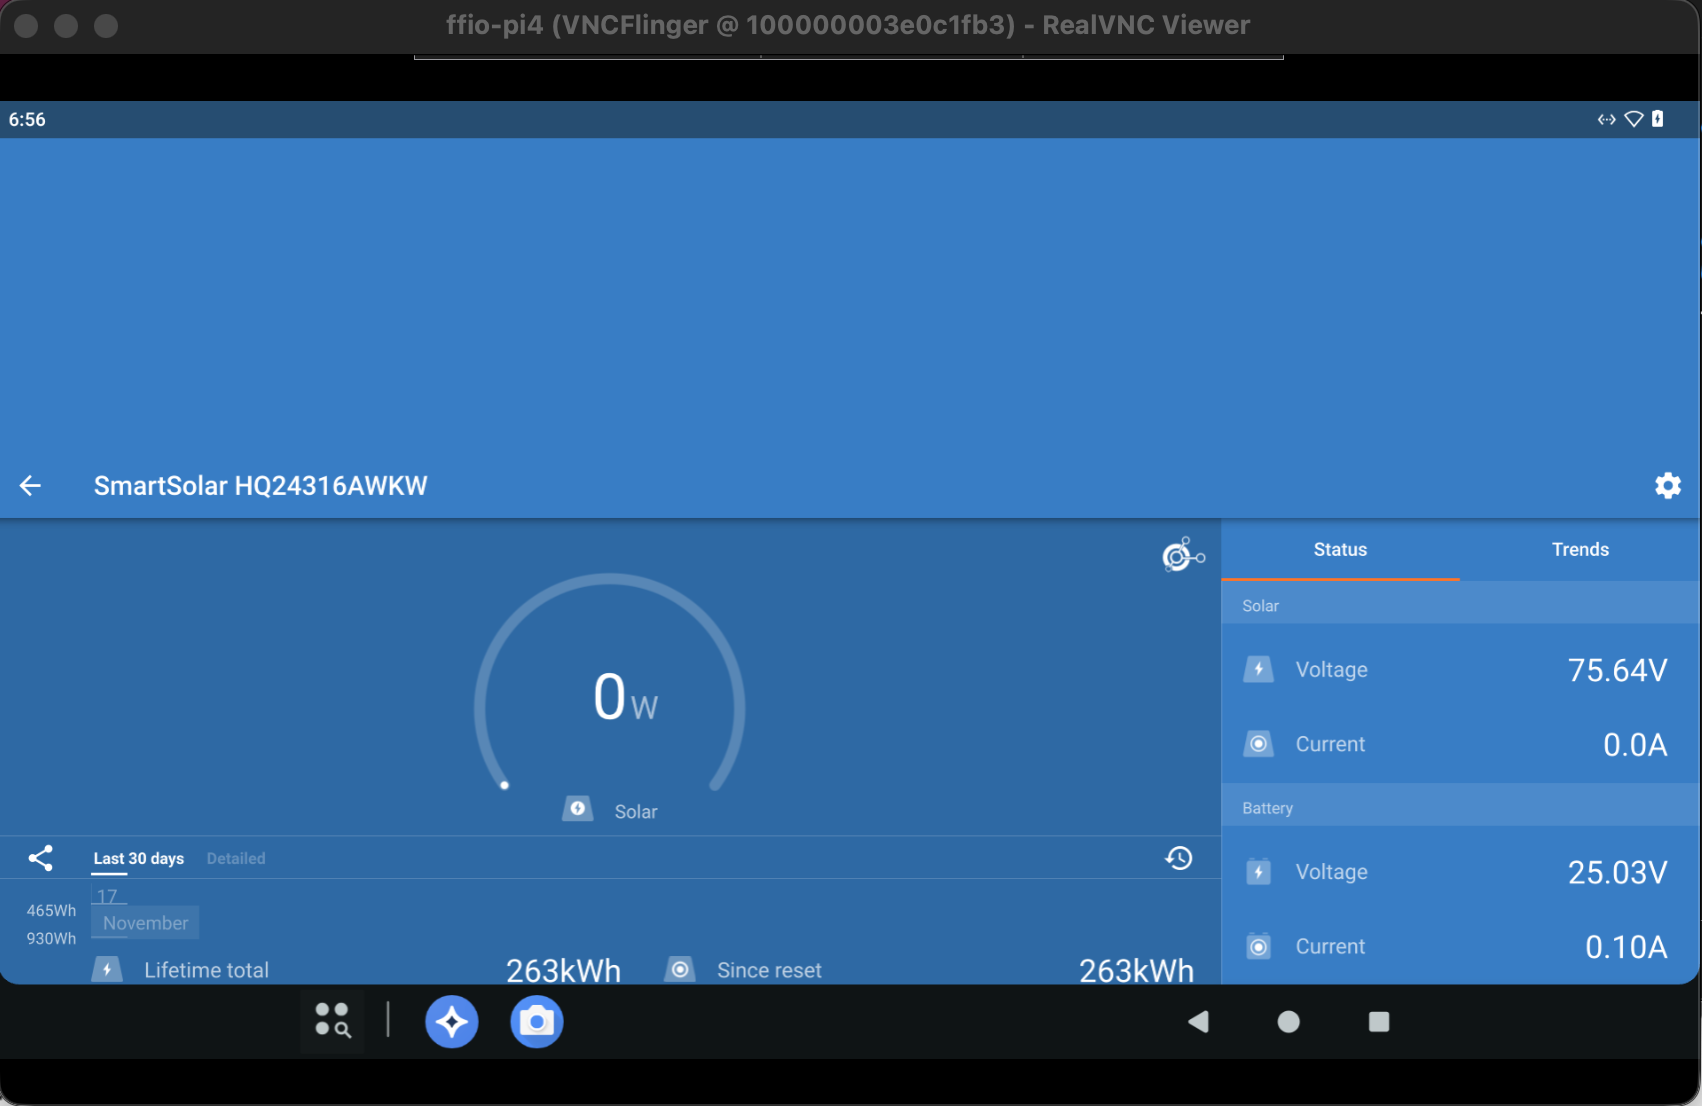
With DIY, quite often there are solar panels that wait a little while before getting put into service. Getting a pack of MC4 caps is cheap and saves a load of headache. Just a quick PSA.
(Not affiliated, link to RES Supply.)
With DIY, quite often there are solar panels that wait a little while before getting put into service. Getting a pack of MC4 caps is cheap and saves a load of headache. Just a quick PSA.
(Not affiliated, link to RES Supply.)

Anker’s F3800 (in my case non-plus) is a great home backup/mobile backup battery from the specs but not having any way of getting global notifications defeats it’s use as backup. Now, I am using it to load shift, which is distinctly different from home backup. Load shifting requires more data but even if you’re only using it for backup it is still too easy for the storage to run out without strong enough notifications for a user to take action.
Of course my preference is integration with Home Assistant. There may be ways of hacking this physically, there have been attempts with software that I’ll follow up on, but it seems like physical additions (not necessarily modifications) might be the best method.
More soon.
Updated and Retried with Firmware v2.4.0: 10/24/25

Using Time Machine along with SMB shares seems to cause an issue when the backup runs the other SMB shares stop working. What is likely happening is MacOS is locking the files as it starts the backup to avoid read write problems.
Separating the users, as in having one SMB user for files sharing and a second for Time Machine seems to solve the issues.
Fortunately, setting up an SMB share for Time Machine is pretty straightforward and developer Marinus Klasen has a great guide. I’ve simplified what is needed an added it below at the bottom. General steps.
There’s a great quick guide on ask Ubuntu about adding a CLI only SMB user on Ask Ubuntu.
## For TimeMachine Config ##
# Fruit global config
fruit:aapl = yes
fruit:nfs_aces = no
fruit:copyfile = no
fruit:model = MacSamba
[timemachine]
# Load in modules (order is critical!)
vfs objects = catia fruit streams_xattr
fruit:time machine = yes
fruit:time machine max size = 1.5T
comment = Time Machine Backup
path = /TimeMachine (CHANGE THIS)
available = yes
valid users = timemachine (Maybe don't permit other SMB users.)
browseable = yes
guest ok = no
writable = yes
Updated and Retried with Ubuntu 25.04 and MacOS Tahoe 26.0.1: 10/23/25

Camera Mapping and Image Projection are very common in 3D to either alter a 3D space with a photo or match digital elements to a photo. There are probably better ways to do this but parenting an object to a camera isn’t a bad start. Map a texture to a plane, parent the plane to the camera, and update the camera focal length to the photo. Simple, probably still had some distortion but workable for a quick pass.
Add an image, alpha, make sure to set the alpha blend.
Placing the image right up against the camera makes it easier to remove distortion later.

Here’s the tricky part. Any difference in the object size, focal length, or other camera distortion will stand out quickly but, unless the goal is a final render, the projection can be helpful for a simple design or setup.
Ultimately the design doesn’t work but building the quick projection at least helped vet out the idea. While using an object for the camera projection allows for some great customization, there are probably some better methods using UV projection.

Almost 10 years ago I built a small basement render farm with a few spare PCs to speed up renders. However, planning and pre-production ended up being far more difficult than rendering. Since I’ve returned to animation I’ve mostly been working in 2D, which is far less render intensive, but a recent 3D project revived my research into ways to use multiple systems to speed up Blender output. The first option I tried, Prism, ended up not being a system manager, as Blender’s previous Network Render panel was, but an entire pipeline manager with some helpful render options built in.
Installing Prism on Windows 10 was mostly straightforward, download from the site, run the .exe install, add your name when it asks, start a project, and in Prism Settings -> DCC apps add Blender. (Reading the manual is definitely recommended.) A few important notes:
After adding a project, the power comes in when going into the assets, or shots, adding a scene, then creating multiple render or playblast tasks. From there the render tasks can run on the machine of choice. While it’s helpful to have multiple CPUs or GPUs tied in together handing off tasks, this management immediately can help even single shot projects by allowing for multiple output settings and a tracker for those tasks.
Oh, and the same folks have a Renderfarm Manager named Pandora. I think that’s what I meant to download.
At first, it wasn’t immediately obvious why to use SQLite, over MySQL, with Laravel but a couple good cases have come up.